
Skip to product information
-
 Media gallery

Vendor: ATMOSFÆR ENGINEERING
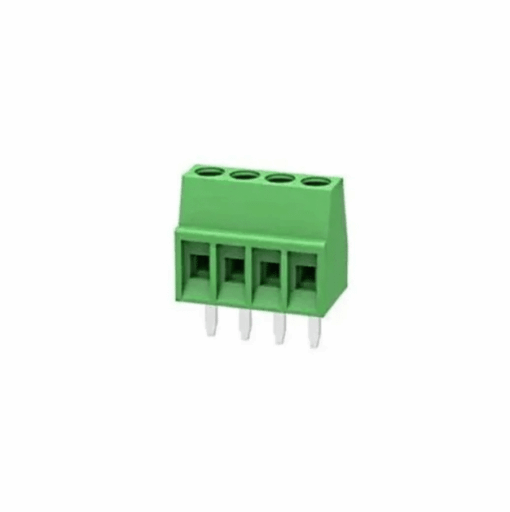
KF128 Screw Terminal for Breadboard 2/3/4pin | ATMOSFÆR ENGINEERING
- Regular price
- €0,50
- Regular price
-
- Sale price
- €0,50
- Unit price
- per
Only
20
items in stock!
Out of stock!
Couldn't load pickup availability
Have a question?
Notified by email when this product becomes available

KF128 Screw Terminal for Breadboard 2/3/4pin | ATMOSFÆR ENGINEERING
- Description
PCB-mount screw terminal connector with standard 2.54mm (0.1") breadboard-compatible pitch. Features screw clamping mechanism for secure wire retention. Accepts 24-28 AWG wire. Ideal for breadboard prototyping, development boards, and applications requiring easy wire connection without soldering. Can be used on both breadboards and PCBs.
Technical Specifications:
- Model: KF128 Terminal Block
- Pitch: 2.54mm (0.1" - standard breadboard spacing)
- Positions Available: 2-pin (2P), 3-pin (3P), 4-pin (4P)
- Wire Gauge: 24-28 AWG (0.3-0.8mm²)
- Rated Voltage: 250V AC
- Rated Current: 3A per terminal
- Contact Material: Copper alloy (tin-plated)
- Housing Material: Flame-retardant plastic (green typical)
- Screw Type: M2 slotted head
- Mounting: PCB through-hole or breadboard compatible
- Operating Temperature: -40°C to +85°C
Features:
- Breadboard compatible - fits standard 2.54mm pitch
- Screw clamping for secure wire connections
- Reusable connections (no soldering required)
- Accepts solid or stranded wire
- Compact design
- Easy wire insertion and removal
- Standard 0.1" pitch matches breadboards, Arduino headers
Available Configurations:
- 2P (2-pin): For power input, single circuits
- 3P (3-pin): For 3-wire connections (power + signal, RGB common)
- 4P (4-pin): For 4-wire connections (I2C + power, RGBA)
Dimensions (Approximate):
- 2P: ~5mm x 7mm
- 3P: ~7.5mm x 7mm
- 4P: ~10mm x 7mm
- Height: ~8mm above board
Applications:
- Breadboard prototyping with external wires
- Arduino/ESP32 project connections
- Development board power inputs
- Sensor module connections
- LED and low-power device wiring
- Test circuits requiring wire changes
- Educational electronics projects
- Prototype PCB designs
Breadboard Use:
- Insert pins directly into breadboard holes
- Each pin occupies one breadboard row
- Spacing matches standard breadboard grid
- No soldering needed for prototyping
PCB Use:
- Solder to PCB for permanent installation
- 2.54mm pad spacing required
- Through-hole mounting
Installation:
- Insert terminal block into breadboard or PCB
- Strip wire end 3-5mm
- Insert wire into terminal opening
- Tighten screw clockwise to secure
- Verify connection with gentle tug
Important Notes:
- Maximum 3A per terminal (lower than KF301)
- Suitable for signal and low-power applications
- For higher current (>3A), use larger pitch terminals (KF301)
- Stranded wire works better with smaller terminals
- Avoid over-tightening small M2 screws
Perfect for breadboard prototyping and development boards where you need to connect external wires easily without soldering. Commonly used on Arduino shields, sensor modules, and prototype projects.